
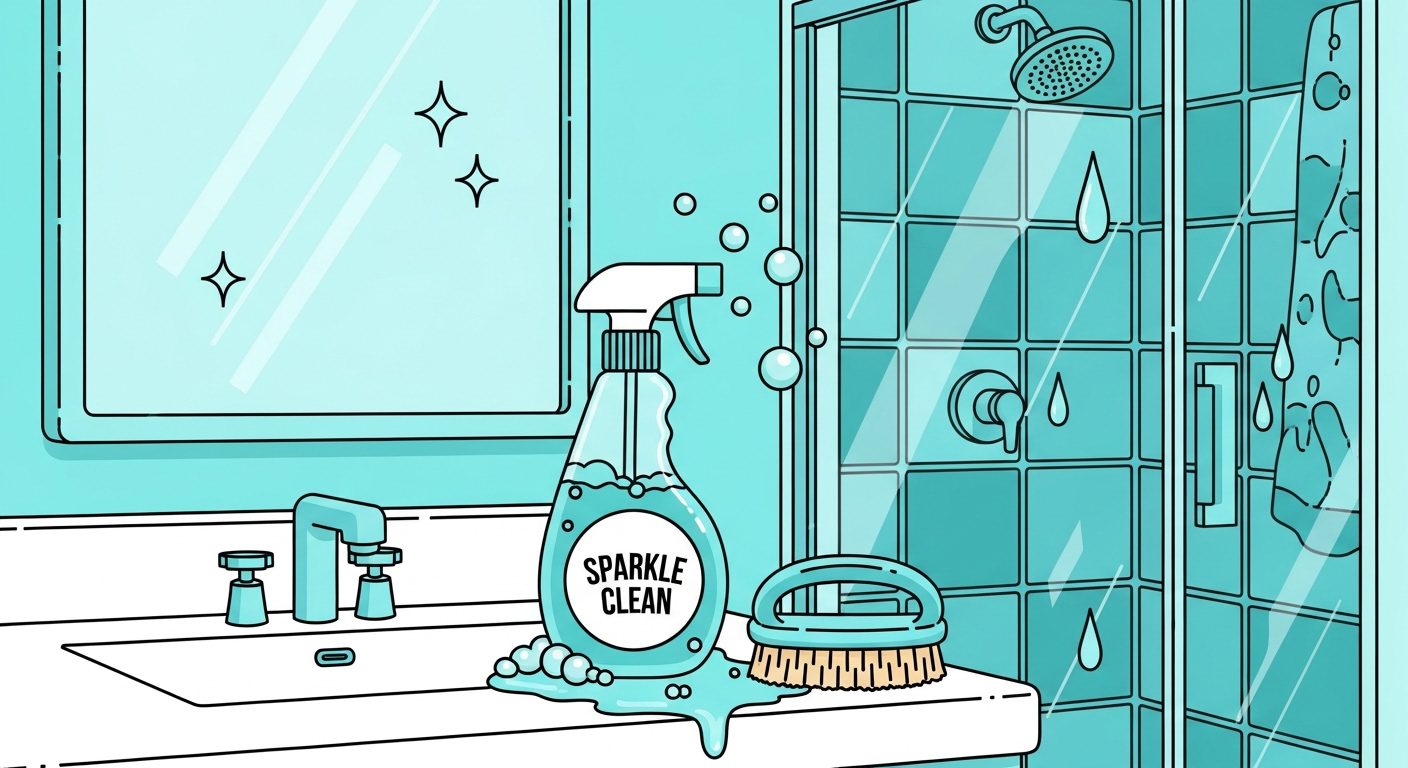
A clean, fresh bathroom is one of the most satisfying rooms in the house but those soap scum, water spots, mildew, and grout buildup can feel relentless. The good news: with a few simple ingredients, consistent habits, and smart tools, you can maintain a sparkling bathroom without relying solely on harsh chemicals.
Below, you’ll find:
- My favorite DIY bathroom cleaner recipes (that I’ve personally used and refined)
- Tips for applying them to tiles, tubs, glass, grout, and toilets
- When and how to supplement with store-bought cleaners (safely)
- Advice on tools, safety, and maintaining your bathroom over time
Let’s get into it.
Why DIY (and When to Use a Store Cleaner)
The advantages of DIY
- Low cost & common ingredients
You likely already have baking soda, white vinegar, hydrogen peroxide, or dish soap in your kitchen. - Gentler on surfaces and lung health
Harsh store chemicals can fade finish, discolor grout, or irritate eyes and airways. - Customizable scent / strength
Want a hint of citrus or tea tree oil? You choose.
When a store-bought cleaner makes sense
There are cases when commercial cleaners shine — for example, persistent mold, deep mineral scale, or when you need strong disinfection quickly. In my experience, combining DIY methods with selective use of a trusted product gives the best balance of safety and power.
A product I’ve tested and found useful is CLR Brilliant Bath Foaming Action Cleaner — it foams, clings to vertical surfaces, and does a fine job on hard water deposits. (Use it sparingly and always rinse well.)
Amazon
Another one I’ve tried is Scrubbing Bubbles Bathroom Grime Fighter Spray — it came out well in lab tests for bathtub and tile cleaning.
Better Homes & Gardens
I’ll point out places below where a spray like those can be a helpful backup option.
My Go-To DIY Bathroom Cleaner Recipes
Here are recipes I’ve tested over months. Keep a spray bottle or two on hand, labeled.
1. All-Purpose Tile & Glass Spray
- 1 cup (240 ml) distilled or boiled & cooled water
- ½ cup (120 ml) white vinegar
- 1 Tbsp baking soda
- 5–10 drops essential oil (tea tree, lavender, lemon)
How I use it: I spray on shower walls, mirrors, glass doors, then let it sit 1–2 minutes before wiping with a microfiber cloth. It handles soap scum nicely, and the baking soda gives gentle abrasion without scratching.
⚠️ Note: Don’t use vinegar-based sprays on natural stone (marble, travertine, etc.) — acidity can damage those surfaces.
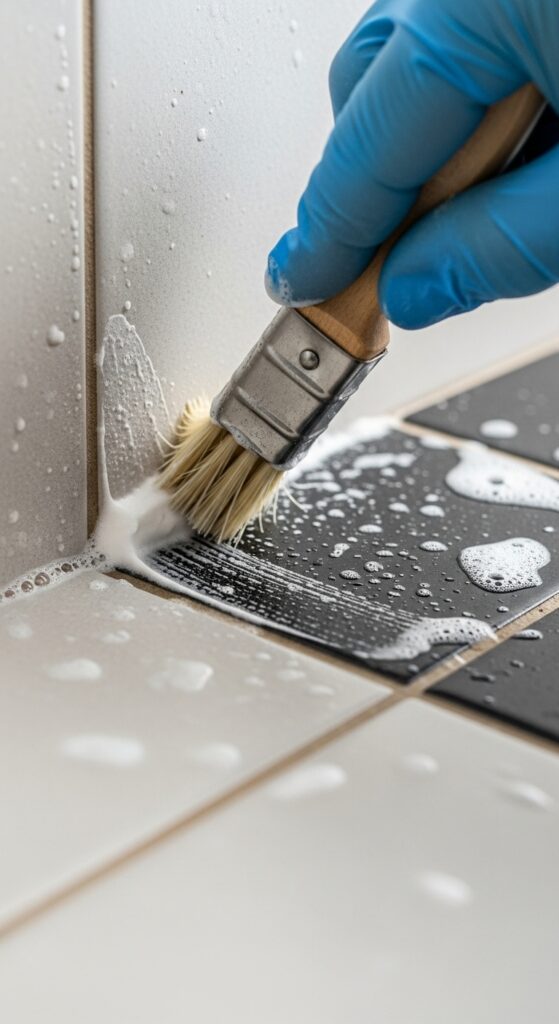
2. Grout / Deep Scrub Paste
- ¼ cup baking soda
- ~2 Tbsp hydrogen peroxide (3 %)
- A drop or two of dish soap
Mix into a paste (thick but spreadable). Apply to grout lines or stained areas, let sit 5–10 minutes, scrub with a stiff brush, rinse.
This is my favorite for discolored grout between tiles. It gives just enough cleaning power without being overly harsh.
3. Toilet Bowl & Drain Booster
- ½ cup baking soda
- ½ cup white vinegar
- After foaming settles, add 1 cup hot water
Let sit 10 minutes, then flush or scrub. It helps break down mild buildup and odors.
If your toilet needs stronger disinfection, use a commercial toilet cleaner occasionally (or the stronger CLR / Scrubbing Bubbles products above), but rely on DIY for weekly upkeep.
Step-By-Step: How I Clean My Bathroom with DIY + Backup Tools
Here’s the method I use (and recommend):
- Clear out loose clutter
Remove bottles, soaps, towels — you want clear access. - Dry dust / sweep first
Use microfiber (or dry vacuum) to remove hair and dust. - Spray walls, tub, and glass with the all-purpose spray.
I start from top to bottom so drips fall downward. - Let it sit for a minute while I prep other areas.
- Apply grout paste to grout lines if needed, especially in corners.
- Scrub and wipe surfaces
Use a non-scratch sponge or brush. For glass, I use a squeegee + microfiber for a streak-free finish. - Rinse everything well (especially if you used store cleaner in a spot).
- Use toilet/drench rinse for the bowl.
- Spot-clean tough zones
If some mineral deposits are stubborn, I’ll spot-use CLR Brilliant Bath Cleaner as a backup, wiping and rinsing immediately. Or spray Scrubbing Bubbles on those patches and let it dwell briefly, then scrub. - Finish with ventilation / wiping moisture
After showers I keep the exhaust fan on and squeegee walls to reduce moisture buildup.
Pros, Cons & Warnings
| Pro | Con / Caution |
|---|---|
| Very low cost | Some stains need stronger chemistry |
| Safer for lungs and skin | Vinegar / acid methods can damage natural stone |
| Custom scents possible | Essential oils can irritate some allergy-prone individuals |
| Flexible — you mix what you need | Storage of solutions (label clearly) |
| Control over strength | Use backup commercial cleaners sparingly but wisely |
Always wear gloves and test any cleaning mix in a small inconspicuous spot first. And store DIY solutions clearly labeled, out of reach of children or pets.
My Honest Product Reviews & Recommendations
Over time, I experimented with both DIY and commercial products. Here’s what stood out:
CLR Brilliant Bath Cleaner (foaming formula)
I used it on a spot with stubborn hard-water staining on chrome and tile. It clung well and loosened buildup quickly. Just make sure to rinse thoroughly afterward — the foaming action is powerful.
Amazon


Scrubbing Bubbles Bathroom Grime Fighter Spray
I tried this on a bathtub rim and vertical tile surface. It did impressively well in lab tests (removing grout smudges etc.).
Better Homes & Gardens


During my DIY regime, I rarely needed store cleaners. But when I did, these two were my go-to backups — handled tough spots I couldn’t shift with baking soda + vinegar alone.
I also monitor cleaning-review sources and see that many testers agree with this approach of combining gentle DIY with occasional targeted sprays.
Reviewed+1
Final Thoughts & Maintenance Tips
- Routine is key: Spending 5–10 minutes each week prevents buildup that takes hours to undo.
- Ventilation matters: Use exhaust fan, open windows, or squeegee to reduce lingering moisture.
- Adjust recipes: If a formulation is too mild (for you), boost peroxide or soap slightly — just don’t overdo it.
- Limit heavy chemical use: Rely on DIY for regular cleaning; reserve strong products for occasional deep work.
- Stay safe: Always label your bottles. Don’t mix bleach with vinegar or hydrogen peroxide directly (dangerous gases can form).
With a few simple ingredients, the right routine, and smart occasional supplements, you can maintain a bathroom that sparkles — naturally, affordably, and reliably.