
If you’ve ever fallen in love with the hardy charm of a snake plant (Sansevieria), you’ve probably thought about multiplying it. Maybe you’ve already tried propagating in soil a reliable method many plant parents swear by. (If not, check out this detailed guide on Snake Plant Propagation in Soil.)
But here’s the secret many indoor gardeners overlook: propagating snake plants in perlite can actually help your cuttings root faster and healthier especially when humidity and drainage are tricky.
This guide walks you through everything you need to know about snake plant propagation in perlite, including step-by-step instructions, expert tips, and product recommendations that make the process foolproof.
🪴 Why Perlite Works So Well for Snake Plant Propagation
Perlite looks like white pebbly bits, but it’s actually a naturally occurring volcanic glass that’s been heat-expanded into a lightweight, porous medium.
Here’s why it’s a game-changer for snake plant propagation:
- Excellent Aeration: Perlite keeps oxygen flowing freely around the roots, preventing rot — a common issue in soil or water propagation.
- Perfect Drainage: Excess moisture drains quickly, keeping your snake plant cuttings from staying soggy.
- Sterile and Lightweight: No pathogens or pests to worry about — great for delicate new roots.
It’s the “cleanest” propagation medium you can use, and it gives your plants a strong start before transferring to soil.
🌱 What You’ll Need for Perlite Propagation
Before you begin, gather these essentials:
- Healthy Snake Plant Leaf Cuttings – Choose mature leaves (not too young or old).
- Clean, Sharp Scissors or Knife – Sterilize them to prevent infection.
- Perlite – Go for coarse-grade perlite for the best aeration.
- Small Container or Pot – Preferably with drainage holes.
- Spray Bottle – To keep the perlite lightly moist.
👉 Recommended Products:
Miracle-Gro Perlite for Indoor Plants (Amazon) – A trusted, affordable choice that works wonders for propagation.
- Helps prevent soil compaction and promote strong root development
- Enriched with Miracle-Gro Plant Food
- Lightweight media helps start root cuttings

Humidity Dome Propagation Tray – Keeps moisture consistent and speeds up rooting.
- Vented Dome Lid:Included 2 adjustable vents in dome lid.Easy to control humidity and temperature for seedlings and clone…
- Perfect Propagator:It works well to keep a humid and warm environment for seedlings and clones.Great for getting your se…
- Big Capacity:15*9.4*7.19 inches(L*W*H).The High dome provide plenty of space for seedlings and clones growing.
🌿 Step-by-Step: How to Propagate a Snake Plant in Perlite
Step 1: Take the Right Cuttings
Choose a healthy leaf and cut it near the base. Trim it into sections 3–4 inches long. Make sure you mark which side is the “bottom” (the end that was closest to the roots).
Step 2: Let the Cuttings Callus
Place the cuttings on a dry surface for 1–2 days so the ends can callus. This prevents rot once they’re placed in perlite.
Step 3: Prepare the Perlite
Fill your container with perlite and moisten it slightly using your spray bottle. The perlite should feel damp but not wet.
Step 4: Insert the Cuttings
Gently push the cuttings into the perlite about an inch deep, with the “bottom” end down. Make sure they’re upright and stable.
Step 5: Keep Humidity High
Cover the container with a clear plastic bag or humidity dome to retain moisture. Place it in bright, indirect light.
Step 6: Be Patient — and Consistent
Lightly mist the perlite every few days. Avoid overwatering. Within 4–6 weeks, you’ll see roots forming!
Once the roots are around 2 inches long, your baby snake plant is ready to move into soil.
🌵 When to Transfer Your Snake Plant from Perlite to Soil

You’ll know your propagation has succeeded when you see tiny white roots and even small pups growing from the base of your cutting.
Transfer them into a well-draining snake plant soil mix (equal parts potting mix, perlite, and coarse sand). You can reuse the same perlite or mix it into your soil for extra drainage.
💡 Tip: This is the perfect time to apply a mild natural fertilizer for snake plants, such as worm castings or a gentle liquid fertilizer every few weeks.
🌸 Common Mistakes to Avoid
- Overwatering the Perlite: Even though perlite drains well, constant wetness can still lead to rot.
- Low Light Conditions: Bright, indirect light helps roots develop faster.
- Skipping the Callus Step: Always let your cuttings dry before inserting them.
🌿 The Benefits of Using Perlite for Propagation
- Faster root growth than traditional soil methods.
- Less risk of fungal infections or rot.
- Easy to monitor moisture levels and adjust as needed.
- Cleaner and easier to handle than messy soil.
If you’ve tried water propagation before and struggled with rot or mushy leaves, perlite propagation might just be your perfect middle ground — clean, airy, and foolproof.
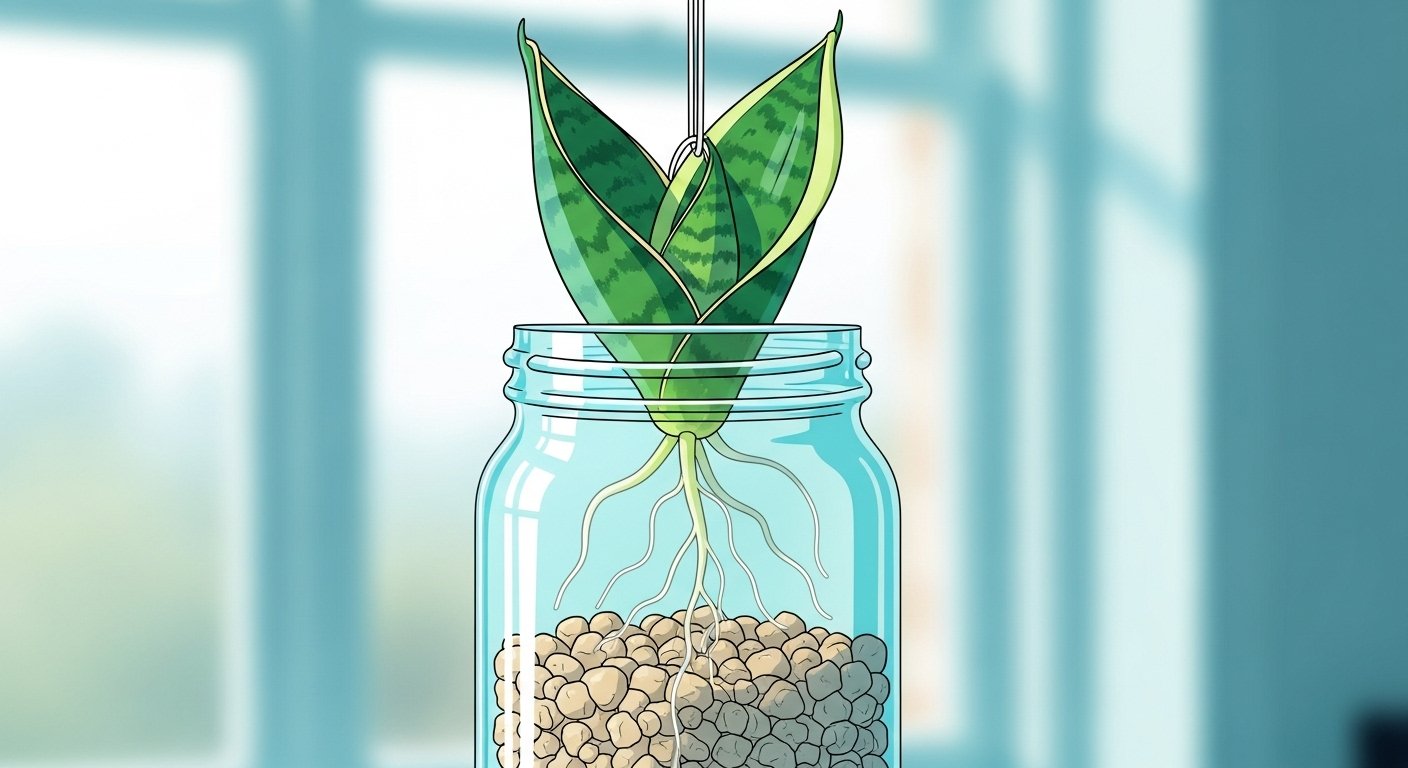
🪴 Bonus Tip: Combine Perlite with Water
Some plant parents experiment with a perlite + water mix, where perlite floats partially in water to keep constant humidity. It’s a creative hybrid between soil and water propagation that also works well for snake plants.
🌱 Final Thoughts
Propagating your snake plant in perlite is one of the easiest and most rewarding ways to grow your plant family. It’s faster than soil propagation, cleaner than water propagation, and gives your cuttings the best start possible.
So grab some perlite, a few cuttings, and a sunny windowsill — and watch your snake plants thrive!
For comparison, you can also check out Snake Plant Propagation in Soil to see which method suits you best. 🌿