
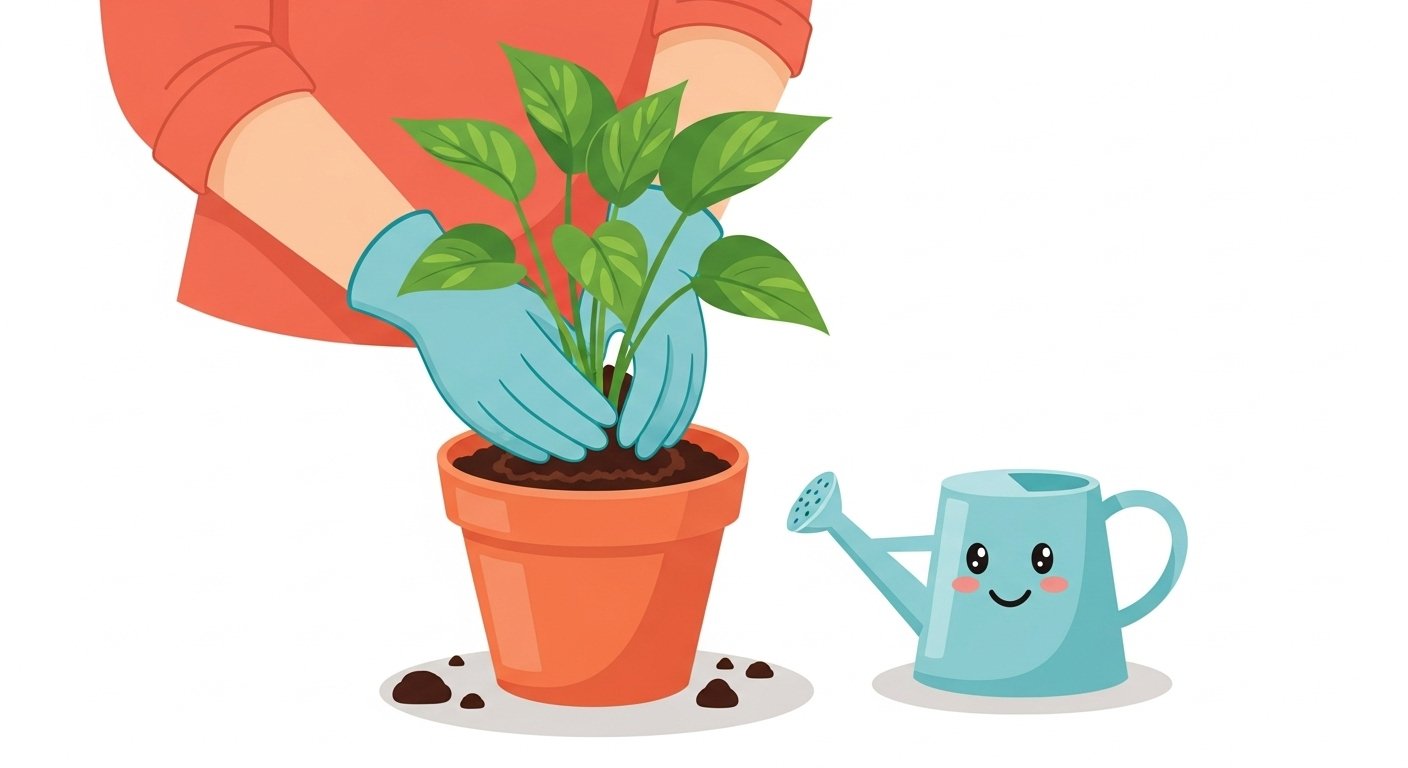
Pothos plants are some of the most rewarding and easy-going houseplants, but even they need a fresh start every now and then. Repotting keeps their roots healthy, refreshes the soil, and encourages fuller, faster growth. Over the years, I’ve repotted more pothos plants than I can count, and it always amazes me how quickly they perk up after getting new soil and a little more room.
If your pothos has slowed down, looks limp, dries out too fast, or has roots pushing out of the drainage holes, it’s probably asking for a new home. Below, I’m sharing the exact steps I follow when repotting simple, reliable, and beginner-friendly.
I’ve also included 1–2 helpful product recommendations that I genuinely use and trust, placed naturally within the guide.
🌱 Why Repotting a Pothos Matters
Pothos are fast growers. When their roots fill the pot completely, they start circling tightly, leaving no space for new growth. The soil compacts and loses nutrients, making it harder for the plant to absorb what it needs. That’s when you start seeing issues like:
- Soil drying out within a day
- Yellowing or pale leaves
- Slow, tiny new leaves
- Roots peeking out from the bottom
- Vines growing slower than usual
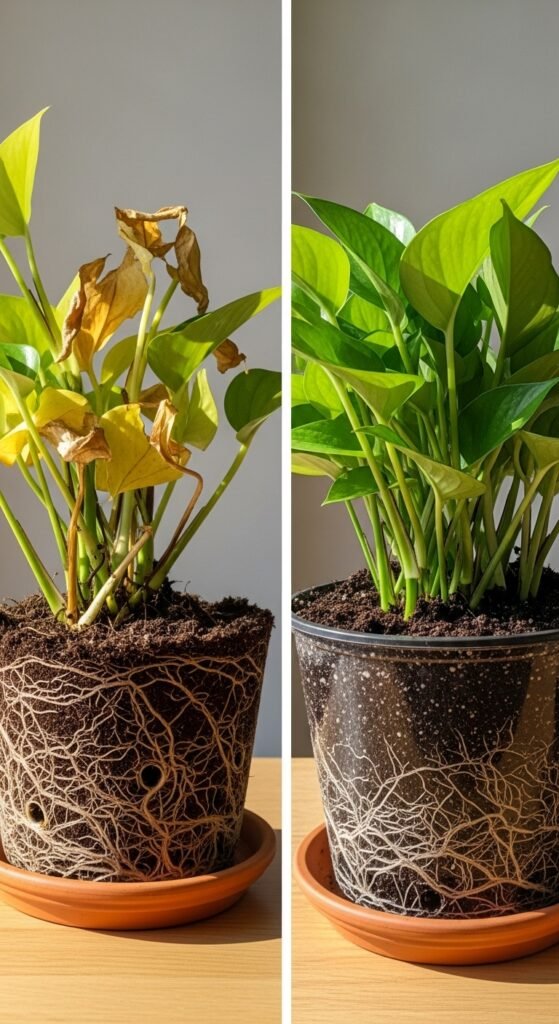
Every time I’ve repotted a tired pothos, I’ve seen new growth within 2–3 weeks — sometimes even faster. The transformation truly shows how much these plants appreciate fresh soil.
🌿 Step-by-Step Guide: How I Repot My Pothos
Step 1: Choose the Right Pot Size (Not Too Big!)
One of the most common beginner mistakes is planting a pothos into a pot that’s far too large. A pot that’s too big holds extra moisture, which pothos roots don’t like. Root rot becomes a real risk.
The ideal size is 1–2 inches wider than the current pot.
That small increase gives roots just enough space without overwhelming them with soggy soil.
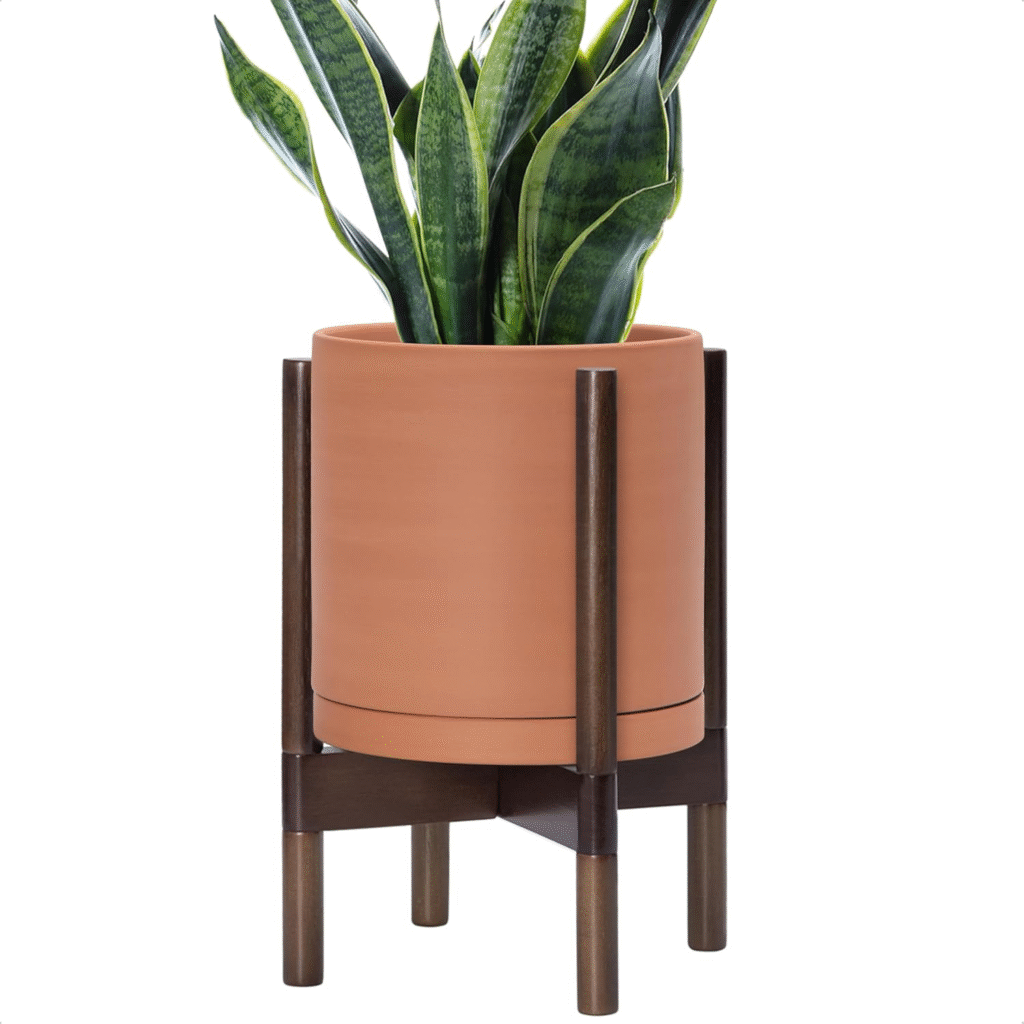
🌿 My Pot Choice
When I repot, I almost always use terracotta because it breathes and helps prevent overwatering. A terracotta pot like the D’vine Dev Terracotta Planter has been the most reliable for me — simple, breathable, and perfect for pothos.
Step 2: Use a Light, Airy Soil Mix
Pothos roots need oxygen. Dense soil suffocates them. Over the years, I’ve learned pothos thrive best in a blend that drains quickly but still holds a bit of moisture.
Here’s the simple mix I always use:
- 50% indoor potting mix
- 25% perlite
- 25% coco coir or orchid bark
This combination keeps roots healthy, prevents compaction, and drastically reduces root rot risk.
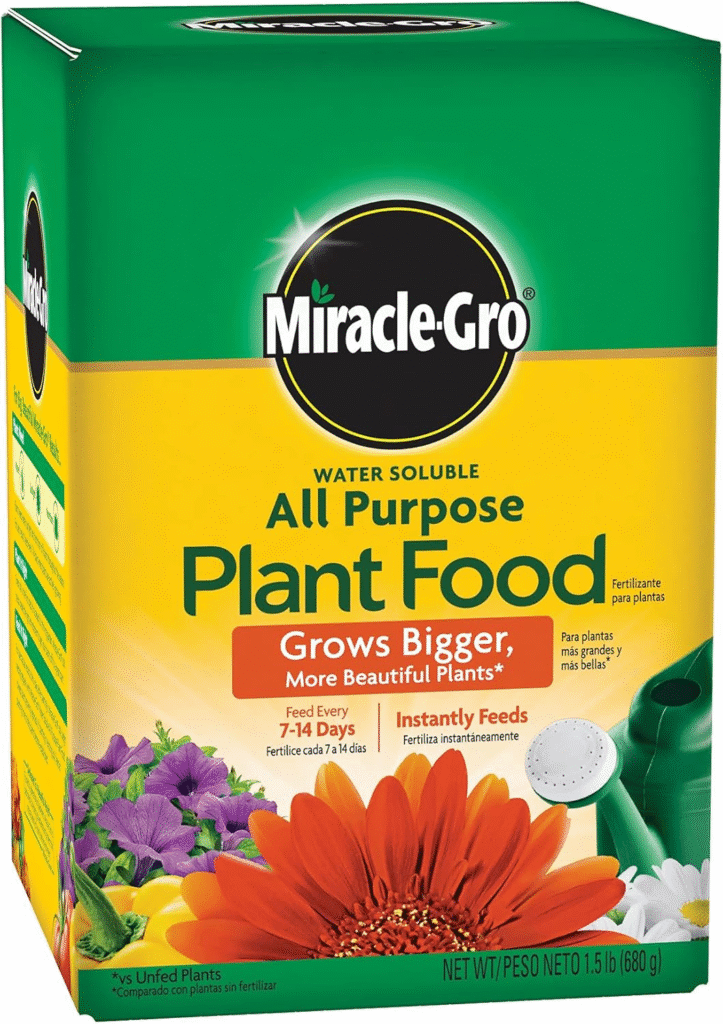
If you prefer a ready-made option, I’ve had great success with Miracle-Gro Indoor Houseplant Mix. It’s lightweight, clean, and a good base for pothos without being too heavy.
Step 3: Gently Remove the Plant from Its Old Pot
To remove the pothos safely, I tip the pot sideways and support the plant at the base. Sometimes I tap the pot’s bottom or squeeze the sides slightly to loosen the soil.
💡 A tip from experience:
Never pull the plant by its vines. I’ve snapped more vines that way than I’d like to admit, especially when I was new to plant care.
Step 4: Loosen and Check the Roots
Once the plant is out, I take a moment to inspect the roots. Healthy pothos roots are usually:
- Firm
- White or light tan
- Slightly springy
If I find roots that are mushy, dark, or smell bad, I trim them off with clean scissors. Removing damaged roots helps the plant bounce back faster and prevents rot from spreading.
If the roots are tightly wrapped around each other (rootbound), I gently loosen them so they can spread out in their new pot.
Step 5: Position the Plant and Backfill with Soil
I add a layer of fresh soil to the bottom of the new pot, place the pothos in the center, and fill around the roots.
✨ My repotting trick:
I always make sure the plant sits at the same height as before — not too deep, not too high. The top of the root ball should sit about ½ inch below the pot rim, which makes watering easier and prevents soil overflow.
While filling in soil, I press gently to remove large air pockets, but I never pack the soil tightly. Pothos roots like breathing room.
Step 6: Water Thoroughly After Repotting
Right after repotting, I give the plant a deep, thorough watering. This helps the soil settle around the roots.
I keep watering until water drains from the bottom. Then I empty the saucer — I never leave standing water under the pot.
After this initial watering, I usually wait 5–7 days before watering again, depending on room temperature and soil moisture.
Step 7: Provide Gentle Aftercare
A freshly repotted pothos is adjusting and shouldn’t be stressed further.
Here’s what I do for the next 2–3 weeks:
✔ I DO:
- Place it in bright, indirect light
- Let the top soil dry before watering again
- Avoid any fertilizer
✘ I AVOID:
- Putting it in harsh sun
- Overwatering
- Moving it around too much
By the third week, the plant typically rewards me with fresh new leaves — a clear sign that it’s settled into its new home.
🌱 How I Know It’s Time to Repot a Pothos
Here are the clear signs I look for:
- Roots growing out of drainage holes
- Soil drying out too quickly
- Yellowing leaves
- Very slow or stunted growth
- Pot becoming lightweight even right after watering
- Vines producing noticeably smaller leaves
In general, I repot my pothos every 12–18 months for best growth.
🌿 Extra Helpful Tips I’ve Learned Over the Years
1. Terracotta prevents most overwatering issues
Switching to terracotta solved many moisture problems I had early on.
2. Flush salts before repotting
Rinsing old soil with water removes fertilizer buildup.
3. Use orchid bark as a top layer
It improves aeration and looks aesthetically pleasing.
4. Rotate weekly
This keeps growth even and prevents one-sided vines.
5. Propagate broken vines
Any snapped vine becomes a new baby pothos with just a jar of water.
🌿 Final Thoughts
Repotting is one of the easiest and most effective ways to breathe new life into a pothos. With the right pot size, airy soil, and a gentle touch, the plant responds quickly with fresh, healthy growth.
I’ve followed these same steps for years, and I’ve never had a pothos fail to bounce back. If yours looks tired, rootbound, or slow, a good repotting session might be exactly what it needs.