
Monstera plant repotting is one of the most important steps in keeping this popular indoor plant healthy, strong, and fast-growing. While Monsteras don’t need repotting very often, doing it at the right time and in the right way can dramatically improve leaf size, root health, and overall appearance.
This guide is written from real, hands-on experience repotting Monstera plants in indoor environments. It explains when to repot, how to repot safely, and shares 7 proven tips that help avoid common mistakes beginners make.
Why Monstera Plant Repotting Matters
Over time, Monstera roots outgrow their pots. When this happens, water drains too fast, nutrients are lost, and growth slows.
Proper monstera plant repotting helps:
- Refresh old, compacted soil
- Give roots space to grow
- Prevent root rot
- Support larger, healthier leaves
Repotting isn’t just about a bigger pot—it’s about creating the right environment for long-term growth.
When to Repot a Monstera Plant
The best time for monstera repotting is spring or early summer, when the plant is actively growing.
Signs Your Monstera Needs Repotting:
- Roots growing out of drainage holes
- Water running straight through soil
- Slow or stunted growth
- Soil drying out very quickly
Most indoor Monsteras need repotting every 1–2 years.
7 Essential Tips to Repot a Monstera Plant Successfully
1. Choose the Right Pot Size (Don’t Oversize)
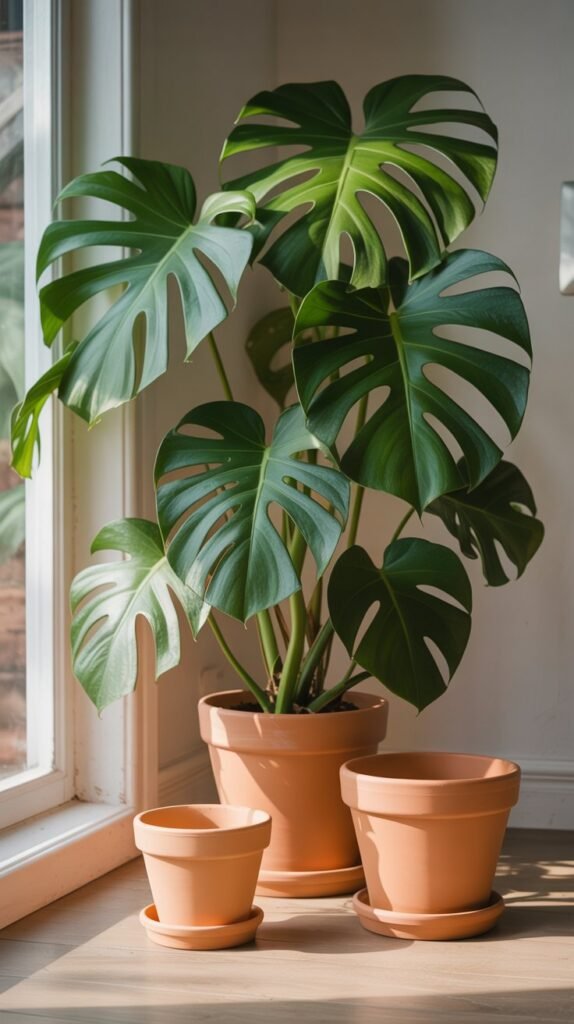
A common mistake during monstera plant repotting is choosing a pot that’s too large. This holds excess moisture and increases the risk of root rot.
Best practice:
- Choose a pot only 1–2 inches wider than the current one
- Always use a pot with drainage holes
This keeps soil moisture balanced and roots healthy.
2. Use a Well-Draining Soil Mix
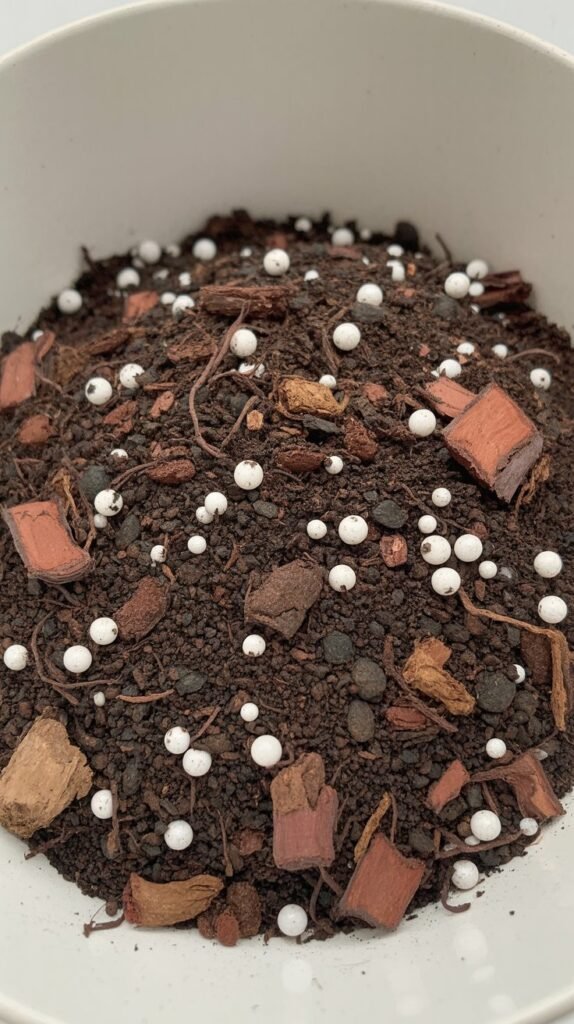
Monstera roots need airflow as much as water.
A proven Monstera soil mix includes:
- High-quality potting soil
- Perlite or pumice (for drainage)
- Orchid bark or coco chips (for aeration)
This mix closely mimics the plant’s natural tropical environment.
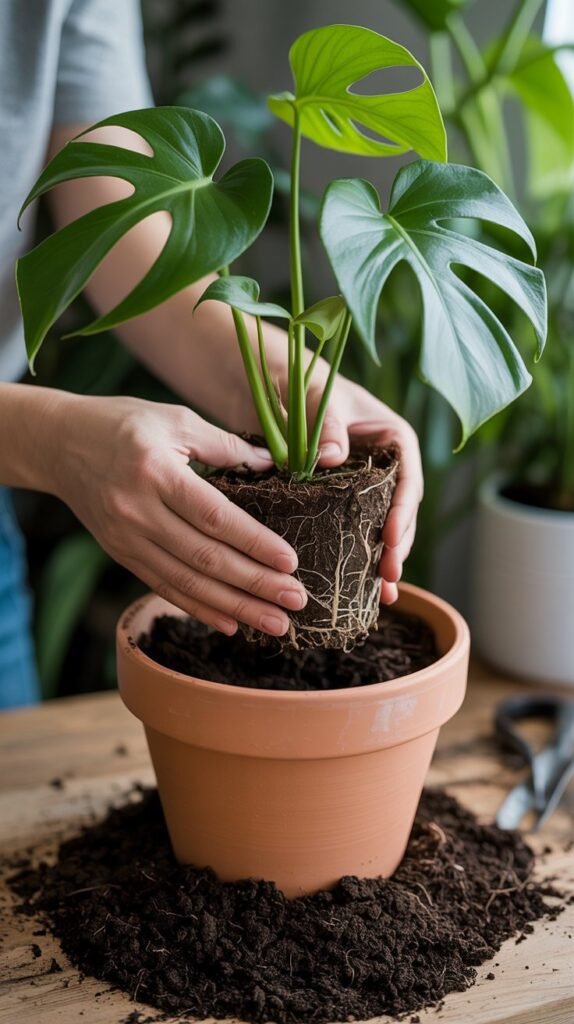
3. Water the Plant Before Repotting
Lightly watering your Monstera 24 hours before repotting helps reduce transplant shock.
Moist roots:
- Slide out more easily
- Are less likely to break
- Adjust faster to new soil
This small step makes a big difference.
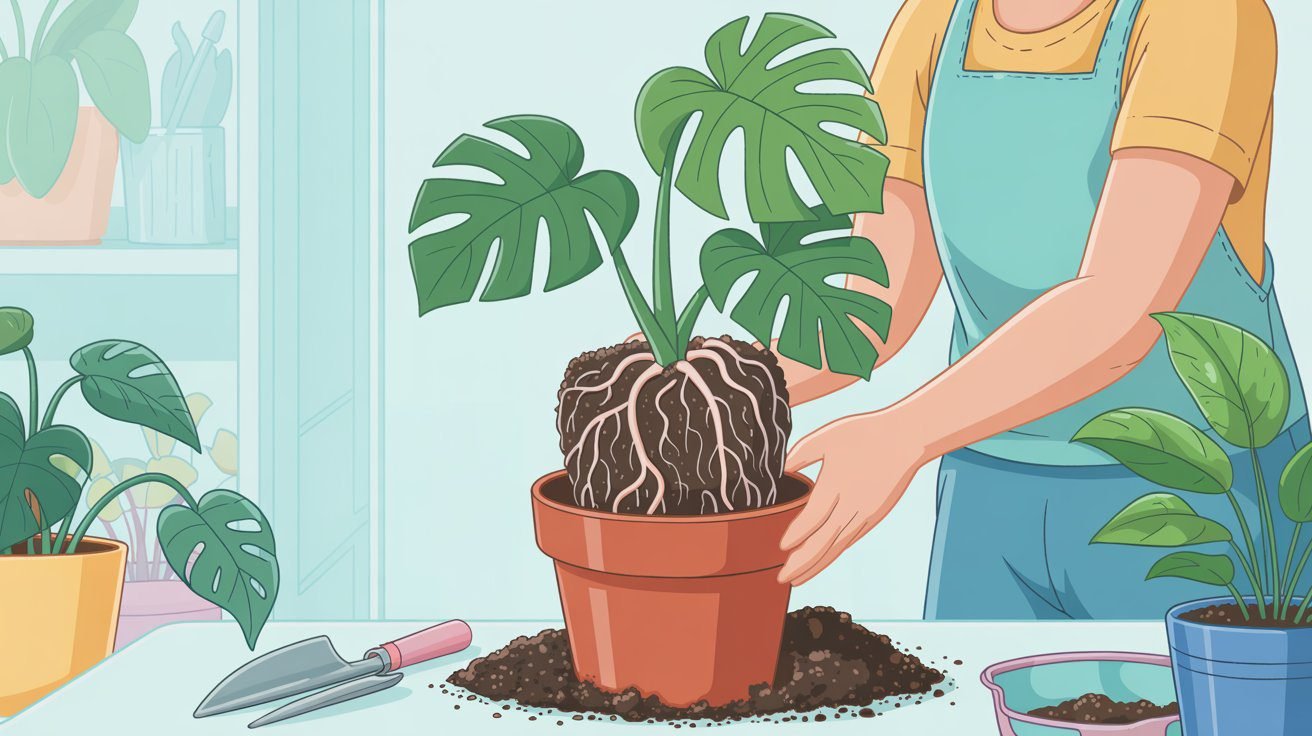
4. Gently Remove and Inspect the Roots
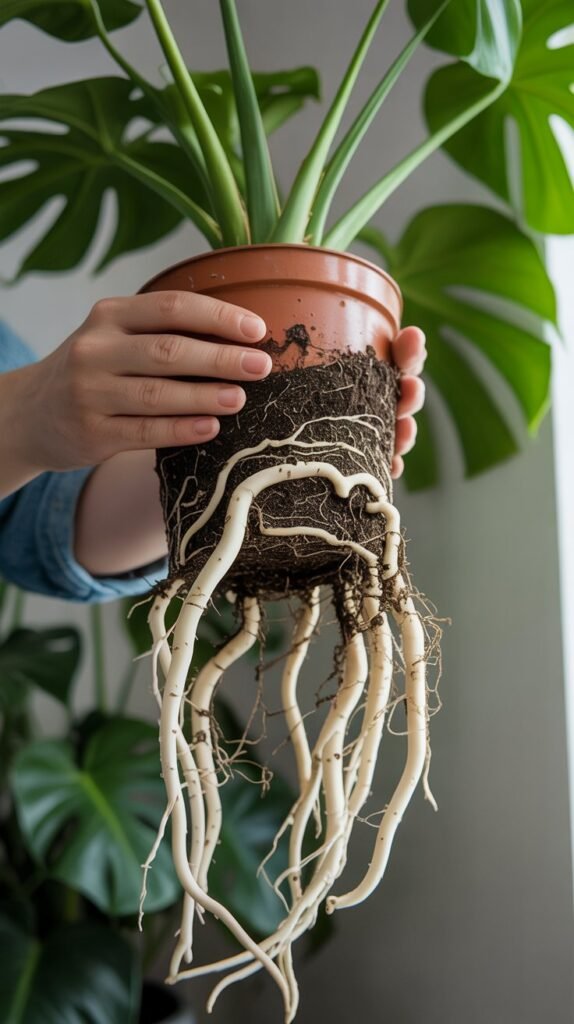
Carefully loosen the plant from its old pot and examine the roots.
Healthy roots are:
- White or light tan
- Firm and flexible
Trim any black, mushy, or rotten roots using clean, sterilized scissors. This prevents future disease.
5. Position the Plant at the Correct Depth
Place the Monstera in the new pot so the base of the stem sits at the same height as before.
Planting too deep can cause stem rot, while planting too shallow exposes roots.
Fill soil around the roots gently—don’t pack it down tightly.
6. Add Support While Repotting (Moss Pole Tip)
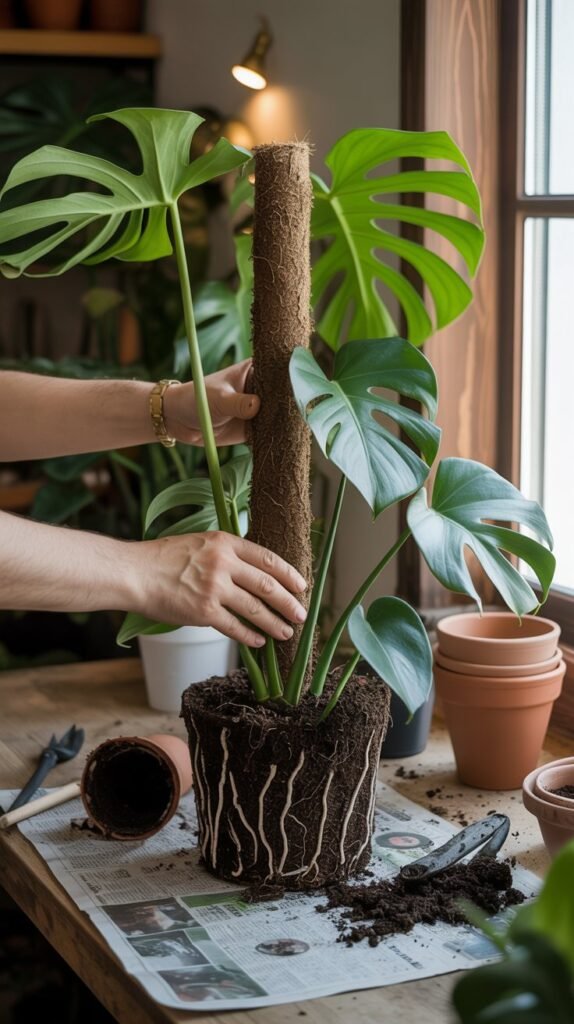
Repotting is the perfect time to add a moss pole or support stake.
Benefits of adding support during repotting:
- Prevents root disturbance later
- Encourages upright growth
- Helps aerial roots attach naturally
Insert the support before filling the pot completely with soil for stability.
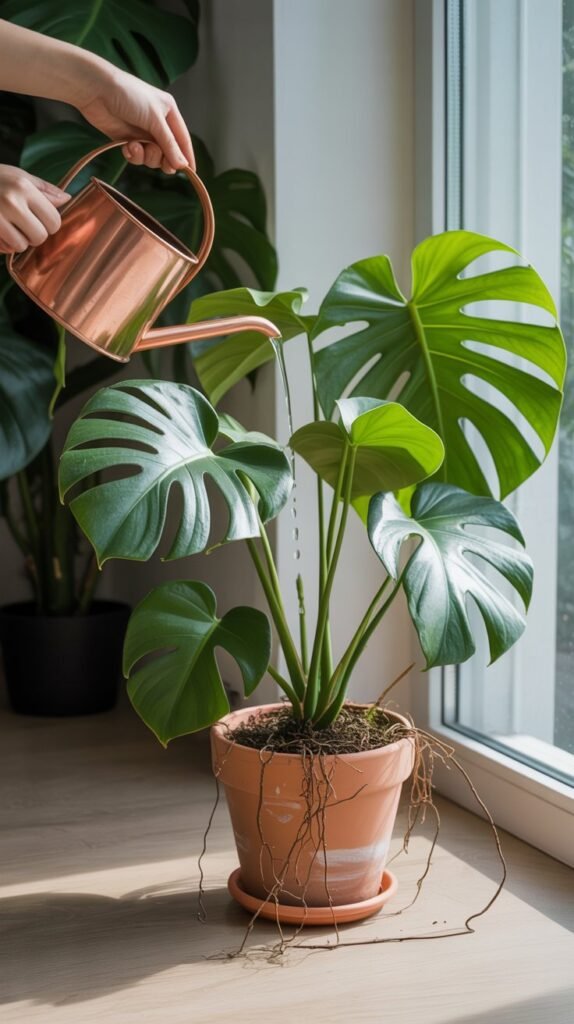
7. Aftercare Matters More Than You Think
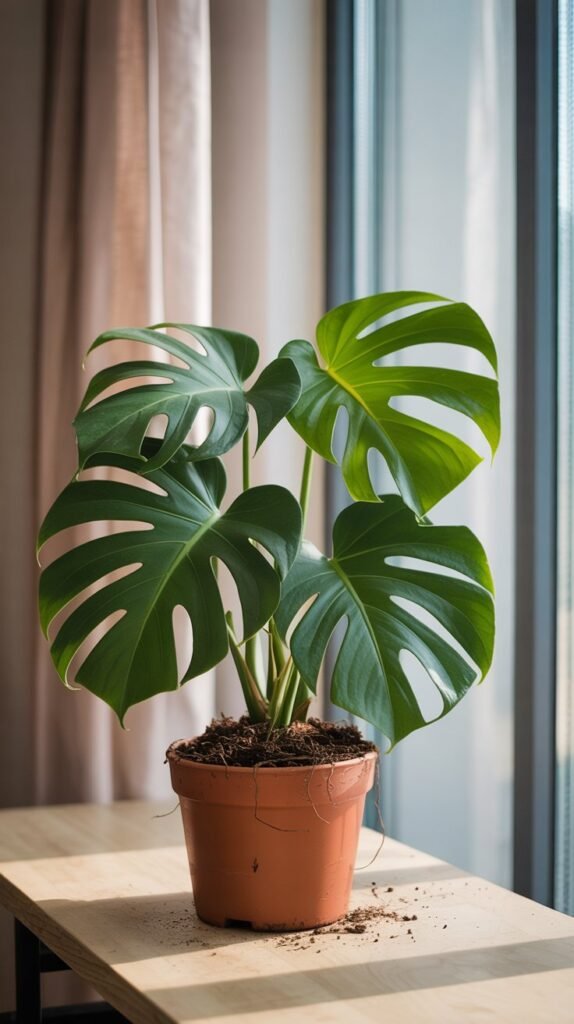
After monstera plant repotting, proper aftercare helps the plant recover quickly.
For the first 1–2 weeks:
- Keep in bright, indirect light
- Avoid fertilizing
- Water lightly only when top soil dries
Some drooping is normal at first. With good care, new growth usually appears within a few weeks.
Common Monstera Repotting Mistakes to Avoid
- ❌ Using heavy garden soil
- ❌ Oversized pots
- ❌ Repotting in winter
- ❌ Fertilizing immediately after repotting
Avoiding these mistakes protects roots and speeds recovery.
Final Thoughts
Monstera plant repotting doesn’t need to be stressful. With the right timing, soil, and pot size—and by following these 7 proven tips—anyone can repot a Monstera successfully.
Done correctly, repotting refreshes the plant, supports stronger roots, and leads to bigger, healthier leaves that make Monstera such a favorite indoor plant.