

When it comes to easy houseplants, spider plants are already a favorite but did you know you can multiply them effortlessly using just water? That’s right! Spider plant propagation in water is one of the simplest, most satisfying ways to grow lush new plants.
Whether you’re a beginner or a proud plant parent looking to expand your indoor jungle, this guide will walk you through every step with expert tips, real experience, and honest product recommendations.
🌿 Why Propagate Spider Plants in Water?
Propagation is simply the process of creating new plants from existing ones — and with spider plants, it couldn’t be easier. The long arching stems produce tiny baby plants (called spiderettes), which can root beautifully in water before being transferred to soil.
Here’s why many experienced plant lovers (including the author!) prefer this method:
- 🪴 Mess-free & beginner-friendly — no soil needed initially.
- 💧 Easy root observation — you can actually see the roots grow.
- 🌱 Higher success rate — fewer risks of overwatering or root rot early on.
- 🌸 Aesthetic decor — spiderettes in water look amazing on window sills or desks!
💬 “I’ve propagated my spider plants this way for years — watching those baby roots grow in clear glass jars feels like magic. It’s an easy, calming weekend project.”
🧩 What You’ll Need for Water Propagation

Before we start, gather a few essentials:
- Healthy mother spider plant (with visible spiderettes or plantlets)
- Clean scissors or pruning shears
- Glass jars, vases, or propagation tubes
- Filtered or distilled water (avoid harsh tap water if possible)
🛒 Recommended Product:
The Mkono Glass Propagation Station (Amazon) is a favorite — its clear glass design lets you see root growth easily, while the wooden frame adds a natural touch to your decor.


🌱 Step-by-Step: How to Propagate Spider Plants in Water
1. Identify Healthy Spiderettes
Look for small baby plants hanging from long stems. They should have a few leaves and, ideally, small root nubs. Avoid brown or wilted ones — healthy spiderettes are bright green and firm.
2. Cut the Spiderette Properly
Using clean scissors, snip the spiderette just below the base where it attaches to the main plant. You can cut multiple babies if your plant has several stems.
💡 Pro Tip: Always sterilize your cutting tool to avoid bacterial infection.
3. Place in Water
Fill your glass jar or vase with room-temperature filtered water. Place the spiderette so that only its base (where roots will form) is submerged. Make sure the leaves stay above water.
🛒 Personal Pick: The Aifusi Clear Glass Bud Vases (Amazon) — a set of mini vases perfect for propagating multiple spiderettes. They’re durable, easy to clean, and look adorable on a window ledge.


4. Choose the Right Location
Spiderettes love bright, indirect light. Place your propagation jars near a window with filtered sunlight — not in direct sun, as that can cause leaf burn.
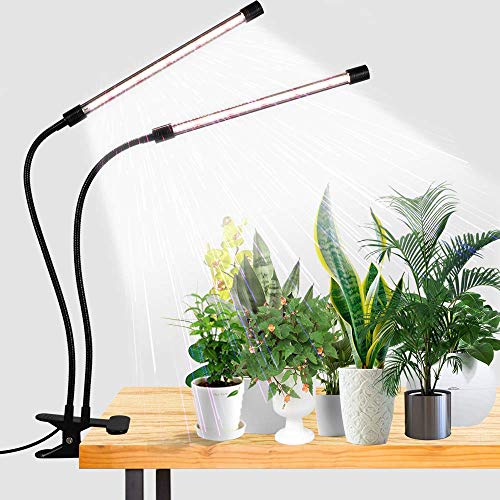
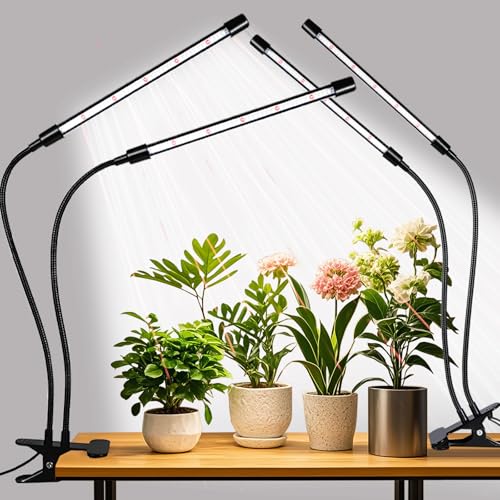
If you have low-light indoor areas, consider using a small grow light.
💡 Optional Add-on: Try the Relassy LED Clip Grow Light (Amazon) — it’s adjustable and gentle, perfect for consistent indoor spider plant care.

5. Change Water Regularly
Replace the water every 3–5 days to prevent bacterial buildup and keep roots healthy. Use room-temperature filtered water each time.
💧 Within 2–3 weeks, you’ll notice small white roots forming — that’s your new spider plant growing!
6. Transfer to Soil (Optional)
Once the roots reach about 2 inches long, you can plant your baby spiderettes into soil. Use a well-draining potting mix — ideally one that’s light, airy, and contains perlite or coco coir.
💚 For a more decorative option, you can even keep them in water permanently (as hydroplants). They’ll need more frequent water changes but can look stunning in glass jars!
🌿 Common Mistakes to Avoid During Propagation
- Using tap water with chlorine: This can damage root growth. Always use filtered or dechlorinated water.
- Submerging leaves: Only the base should touch the water — wet leaves will rot.
- Too little light: Spiderettes need bright, indirect sunlight for strong root development.
- Neglecting water changes: Stagnant water leads to algae and bacteria.
🪴 Decorating with Propagated Spider Plants
Once your propagated plants are thriving, there are so many ways to display them!
- Arrange 3–5 jars on a windowsill for a clean minimalist look.
- Group spiderettes in a hanging propagation station for an elegant wall display.
- Mix different varieties — Curly, Variegated, and Hawaiian spider plants — in clear vases for visual interest.
This simple setup makes your space look fresh, modern, and naturally soothing.
🌱 Caring for Spider Plants After Propagation
Once transferred to soil, continue standard spider plant care indoor practices:
- Water when the top inch of soil feels dry.
- Keep in indirect sunlight.
- Feed with mild fertilizer once a month during spring/summer.
- Trim brown tips regularly for clean, healthy growth.
💚 You can also check our related guides:
These posts dive deeper into plant maintenance once your new spiderettes are fully rooted.
🌿 Final Thoughts
Spider plant propagation in water is not just easy — it’s beautiful and rewarding. Whether you’re gifting new plants to friends or decorating your home with glass jars full of roots, you’ll enjoy every step of the process.
With just clean water, patience, and a little care, you can grow a collection of lush, air-purifying spider plants effortlessly.
So go ahead snip, soak, and watch your tiny green miracles grow! 🌱💧